As system administrators, we have all been there. You’ve just stumbled across some new great utility that will make your users life so much easier, you go to your group policy editor, set up the policy, and download the file only to discover that this wonderful utility is only available as a .exe file.
Unfortunately, software deployment through a GPO requires that the file be in an MSI. I have been personally thwarted by this many times and through this my lofty plans suddenly abandoned. Options do exist, however, and today I want to take you through a great freeware product for creating an MSI out of an .exe.
Our magic tool is produced by Caphyon and is suitably named Advanced installer and can be downloaded here. It truly is one of the best freeware utilities I have ever seen and will be enormously useful to any system administrator out there looking after a medium to large sized network.
So, one of my most popular projects is to customize and RDP client and then deploy it to the organization. There are a lot of tweaks that can be applied and it can minimize a terminal server operator’s headache by 100 per cent seconds after deployment.
So you have gone through the steps needed to produce a customized RDP client and it is time to package it up. You now have two files that will have to be pushed out. These are mstsc.exe and mstscax.dll.
Create a folder on your desktop and drop these two files inside. Fire up advanced installer and select “New Project”
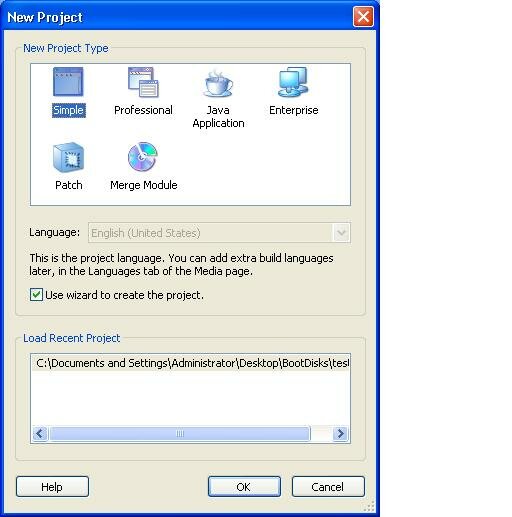
Select the simple project for this.
Once the Wizard fires up, choose and enter both a application name and a company name. The final product will install into a directory like so: Program Files\MyCompany\ApplicationName
OK, now click next and select the folder that you have created on your desktop. Click on next and select where you would like shortcuts placed. These can either be on your desktop or on the start menu or both.
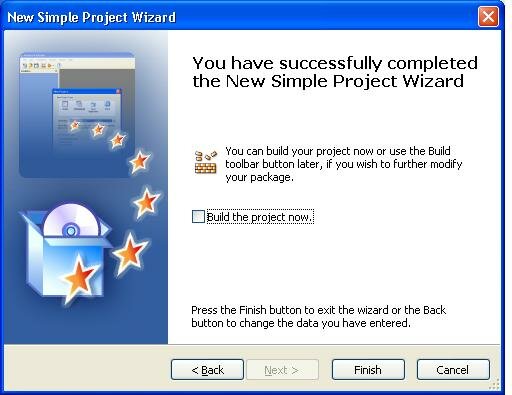
Click next and select Finish. The project will then build itself into an MSI. However, if you want to get fancy and add an icon to your project, untick the check box labelled “build now” and click finish.
Now, simply click on the project details on the left hand side of the window and click on the browse button for icons.
Select any icon you like, click on the project menu and then select build. The project will build your MSI with an icon to be easily deployed.
Go ahead and finish setting up tour GPO, and deploy to your workstations.
Slick IT is……
Enjoy!
thue dich vu ke toan tron goi
ReplyDeletethue dich vu ke toan tron goi tai quan cau giay
thue dich vu ke toan tron goi tai quan tai tu liem
thue dich vu ke toan tron goi tai quan thanh xuan
thue dich vu ke toan tron goi tai quan ha dong
thue dich vu ke toan tron goi tai quan long bien
thue dich vu ke toan tron goi tai quan dong da
thue dich vu ke toan tron goi tai quan ba dinh
thue dich vu ke toan tron goi tai quan tay ho
thue dich vu ke toan tron goi tai quan hoang mai
thue dich vu ke toan tron goi tai thanh tri
thue dich vu ke toan tron goi tai quan hoan kiem
thue dich vu ke toan tron goi tai quan hai ba trung
thue dich vu ke toan tron goi tai quan thu duc
thue dich vu ke toan tron goi tai quan binh thanh
thue dich vu ke toan tron goi tai quan tan phu
thue dich vu ke toan tron goi tai quan go vap
thue dich vu ke toan tron goi tai quan phu nhuan
thue dich vu ke toan tron goi tai quan binh tan
thue dich vu ke toan tron goi tai quan tan binh
thue dich vu ke toan tron goi tai dong anh
thue dich vu ke toan tron goi gia lam
thue dich vu ke toan tron goi tai quan 1
thue dich vu ke toan tron goi tai quan 2
thue dich vu ke toan tron goi tai quan 3
thue dich vu ke toan tron goi tai quan 4
thue dich vu ke toan tron goi tai quan 4
thue dich vu ke toan tron goi tai quan 5